Creating a new page in WordPress is a simple process. Here’s a detailed step-by-step guide on how to do it:
Log in to your WordPress Dashboard: This is usually located at yourdomain.com/wp-admin.
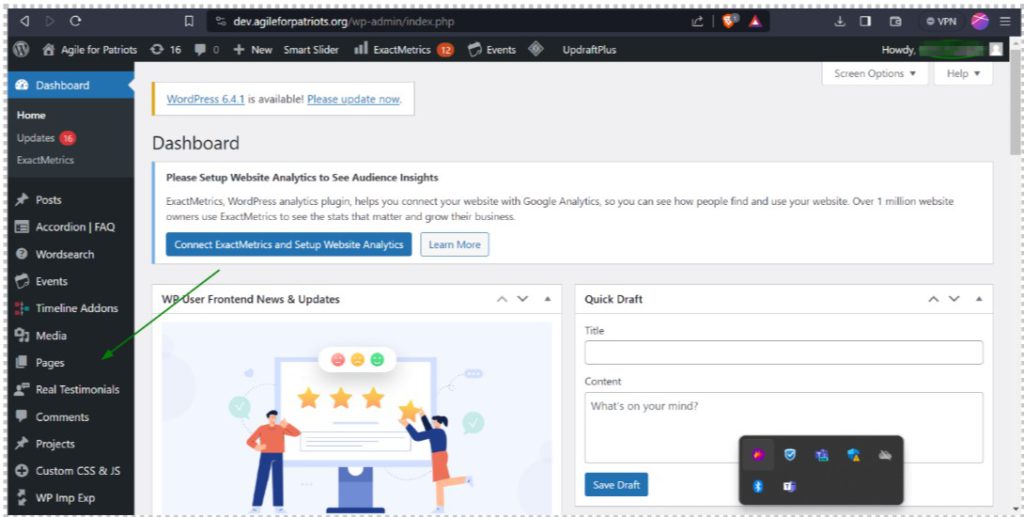
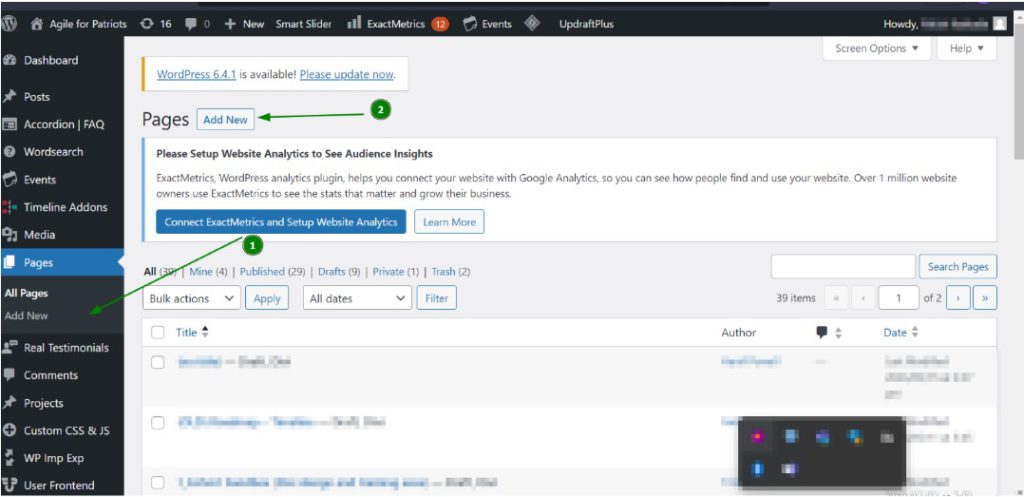
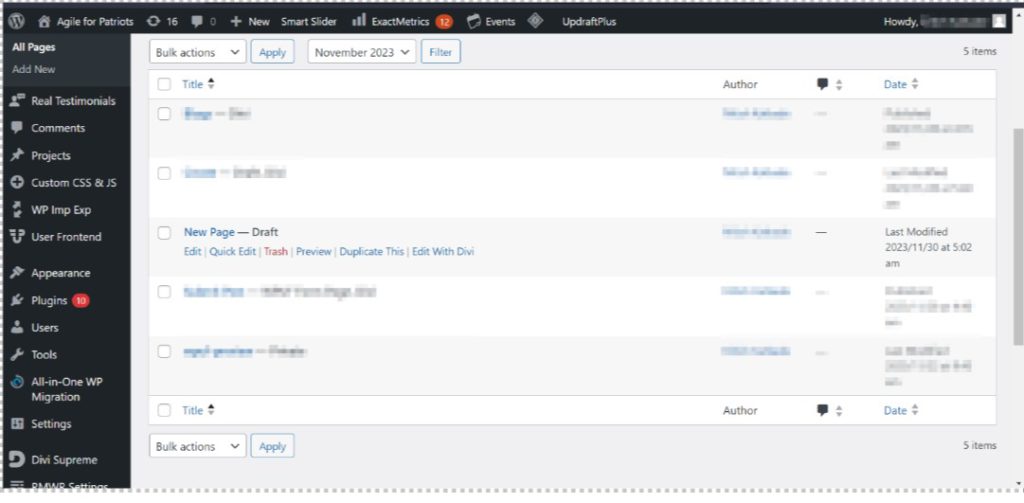
Navigate to Pages: On the left-hand side of your WordPress Dashboard, you will see a menu. Hover over or click on the ‘Pages’ option.
Click on ‘Add New’: This will take you to a new screen where you can create your new page.
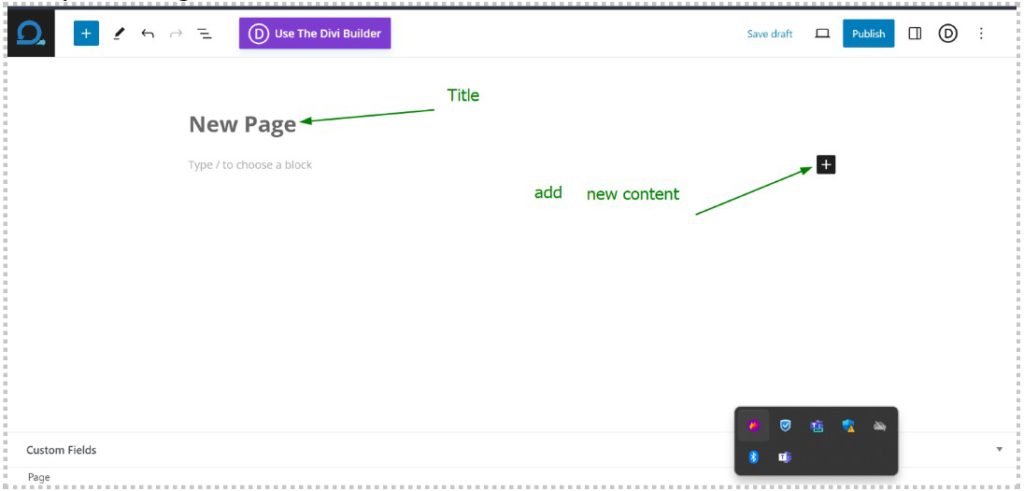
Enter Your Page Title: At the top of the screen, you’ll see a field that says ‘Add title’. This is where you put the title of your page.
Add Your Content: Below the title area, you’ll find the content editor. This is where you can add text, images, videos, and other content for your page. If you’re using the block editor, you can add different types of content by adding new blocks.
Edit Page Attributes (Optional): In the sidebar settings for the page, under ‘Page Attributes’, you can set a parent page if you’re creating a subpage. You can also change the order of your pages when using a default menu by using the ‘Order’ field.
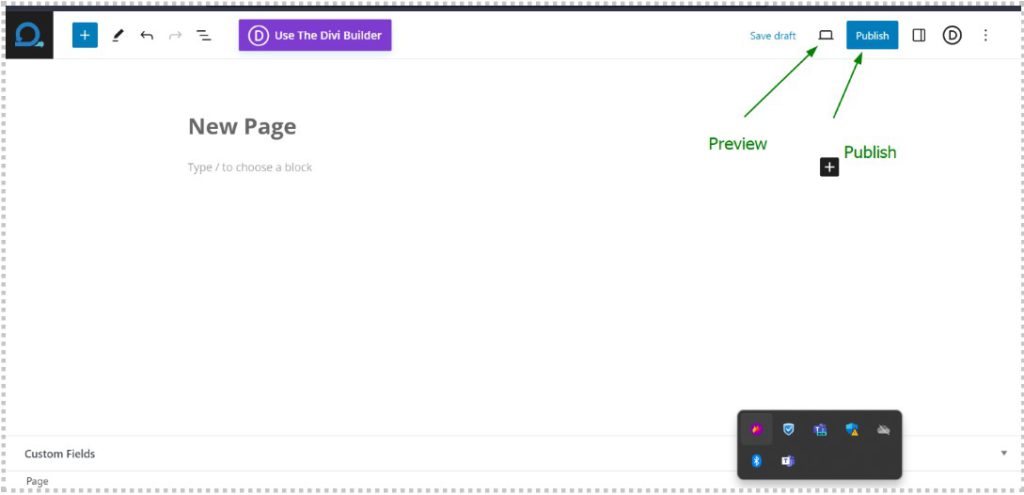
Preview Your Page: Before publishing, it’s a good idea to preview your page to see how it will look. You can do this by clicking on the ‘Preview’ button at the top of the page.
Publish Your Page: Once you’re happy with how your page looks, click on the ‘Publish’ button at the top of the page. Your new page is now live on your website.
Remember, you can edit your page at any time by going back to ‘Pages’ in your WordPress Dashboard and clicking on the page you want to edit. This will bring you back to the page editor where you can make any changes you need.

0 Comments